Most people buy nail art brushes the wrong way. They buy a cheap 15-piece set, feel weirdly proud of the quantity, then use the same two brushes for everything while the rest sit in a cup collecting dust and bent bristles.
That is the real problem with most brush guides. They name every brush shape on the market, but they do not help you decide what matters for actual use. If you are doing nail art at home, or even learning as a beginner nail tech, you do not need a giant brush wardrobe on day one. You need a small set that solves real jobs well.
The fastest way to get good results is simple: match the brush to the task. Fine lines need one kind of brush. French tips need another. Cleanup needs its own tool. Gel application is a separate lane. Once you stop forcing one brush to do five jobs, your work gets cleaner fast.
This guide breaks down the best nail art brushes by what they actually do, which ones beginners should buy first, and how to spot a brush that will fight you from the first manicure.
The Short Answer
If you are building your first brush kit, start with these five:
a fine liner brush; a short detail brush; an angled flat brush; a dotting tool or dotting brush; a cleanup brush
That setup covers the work most beginners and casual DIY users actually do: lines, tiny details, French tips, dots, petals, and edge cleanup. Add separate gel or acrylic brushes only if you are working with builder gel, hard gel, or acrylic systems.
Why Most Nail Art Brush Sets Disappoint
Cheap brush sets usually fail in predictable ways. The bristles are too soft, too thick, uneven at the tip, or glued badly enough that they start shedding into wet polish. The handle feels fine. The photos look convincing. The first close-up swirl says otherwise.
Good nail art depends on control. That means the tip has to stay sharp. The bristles need enough spring to move, but not so much that they flick polish sideways. And the brush needs to hold the right amount of product for the job. A long liner that floods the nail is useless. A detail brush with a split tip is worse.
This is why buying by shape matters more than buying by bundle size. Five good brushes beat fifteen random ones every time.
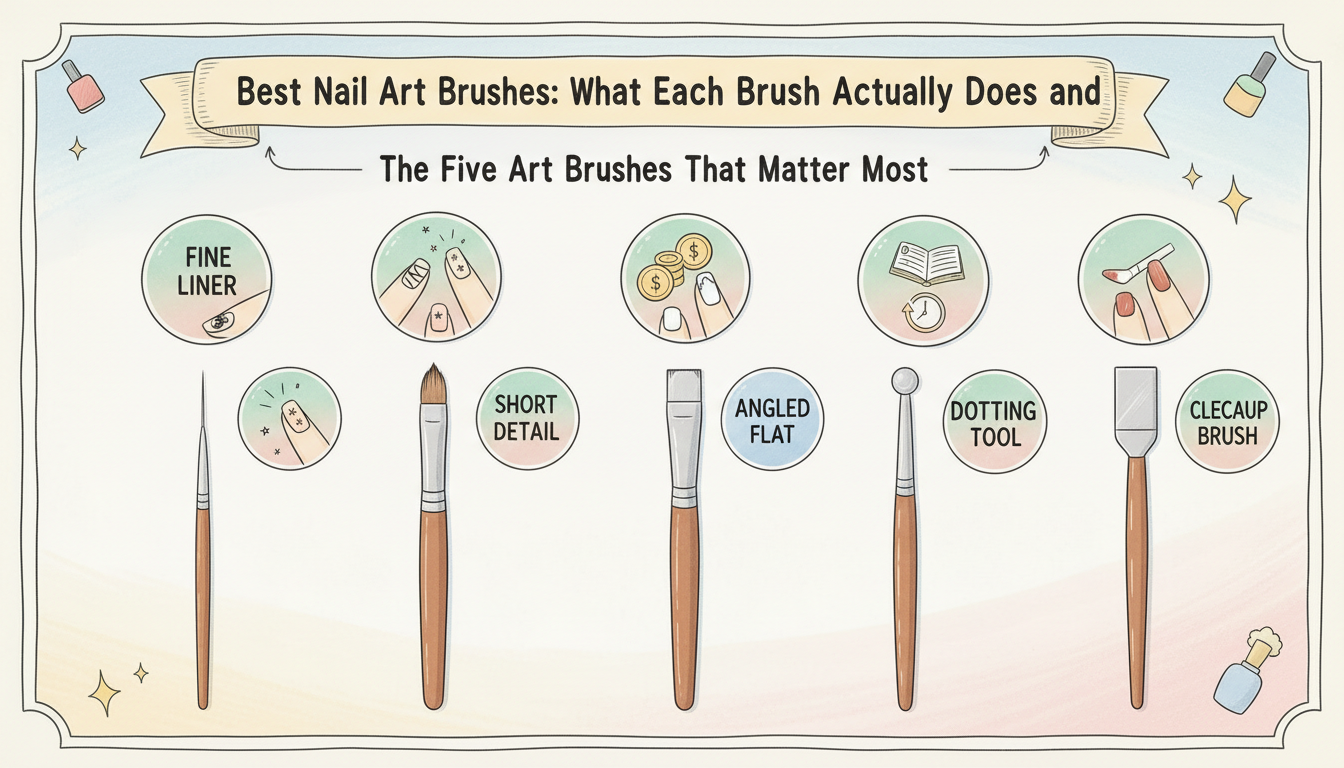
The Five Nail Art Brushes That Matter Most
1. Fine Liner Brush
If you love swirls, outlines, abstract curves, plaid, flames, or skinny French tips, this is the first brush to buy.
A fine liner brush has long, narrow bristles that help you pull smooth lines without stopping every second. The length matters. A longer brush carries polish across the nail in one motion, which is why it works well for curves and striping.
Best for: swirl designs; slim French tips; outlines; geometric lines; zebra and abstract line work
What to watch for: the tip should come to a clean point; the bristles should not fan out dry; the brush should feel springy, not floppy
If you only buy one art brush, buy this one first.
2. Short Detail Brush
A detail brush is shorter than a liner and gives you more control at close range. This is the brush for tiny flowers, mini hearts, little stars, bows, leaves, and small corrections inside a design.
Beginners often struggle with long liners because the extra length can feel slippery. A short detail brush fixes that. You lose some flow, but you gain accuracy.
Best for: tiny shapes; petal work; compact accent art; filling small spaces; refining edges inside a design
If the liner is your line brush, the detail brush is your precision brush.
3. Angled Flat Brush
This one does more than people think. An angled flat brush is excellent for French tips, one-stroke petals, soft curves, and cleaning up the smile line before it dries. It is also useful when you want to place color in a controlled block rather than sketch it in.
For French tips at home, this brush is one of the smartest buys you can make. The angled edge helps you guide the curve instead of stabbing at it with a detail brush and hoping for the best.
Best for: French tips; one-stroke floral work; color blocking; soft curves; sculpting cleaner edges
4. Dotting Tool or Dotting Brush
Strictly speaking, this is often a tool rather than a bristle brush. It still belongs in the same conversation because it solves a job no brush handles as cleanly.
Daisies, flower centers, polka dots, cherries, eyes, bubbles, and tiny rounded details all look better with a dotting tool. A brush can fake dots. A dotting tool makes them look intentional.
Best for: polka dots; flower centers; cherry accents; bubble textures; tiny rounded details
If you want cute nail art without needing advanced brush control, buy this early.
5. Cleanup Brush
This is the most boring brush on the list. It is also the one that makes cheap-looking work suddenly look finished.
A cleanup brush is usually flat, angled, or slightly pointed. You dip it in acetone or remover and run it along the cuticle and sidewalls to sharpen the final shape. It is the difference between “I did these at home” and “these look clean.”
Best for: crisping the cuticle line; fixing flooded sidewalls; cleaning French tips; creating negative space by lifting wet polish
Do not use your art brushes for cleanup. Acetone will wear them down fast.
Brushes You Do Not Need Right Away
This is where people overspend.
You probably do not need a fan brush, sculpting acrylic brush, ombre brush, stamping brush, and six variations of liner brushes on your first pass. Those make sense once you know what style you actually do often.
For most beginners, these can wait:
fan brush; extra-long striper; acrylic brush; separate ombre brush; multiple duplicate detail sizes
Buy for frequency, not fantasy. If you have not done chrome flames, watercolor blooms, or 3D acrylic flowers even once, do not build your kit around them.
How to Choose a Good Nail Art Brush
There are four things worth checking before you buy.
Tip Shape
The point should look clean and even before first use. If the bristles split in the product photos, leave it there.
Bristle Firmness
Too soft and the brush drags. Too stiff and it scratches or dumps product awkwardly. For line work, you want controlled flex. For cleanup, you want a little more firmness.
Cap or Storage Protection
Brushes with caps travel better and last longer. This matters more than people think. A good tip gets ruined in bags, drawers, and makeup cups.
Handle Comfort
If the handle feels slippery or too light, precision work gets harder. You do not need luxury weight. You do need something that feels steady in your hand.
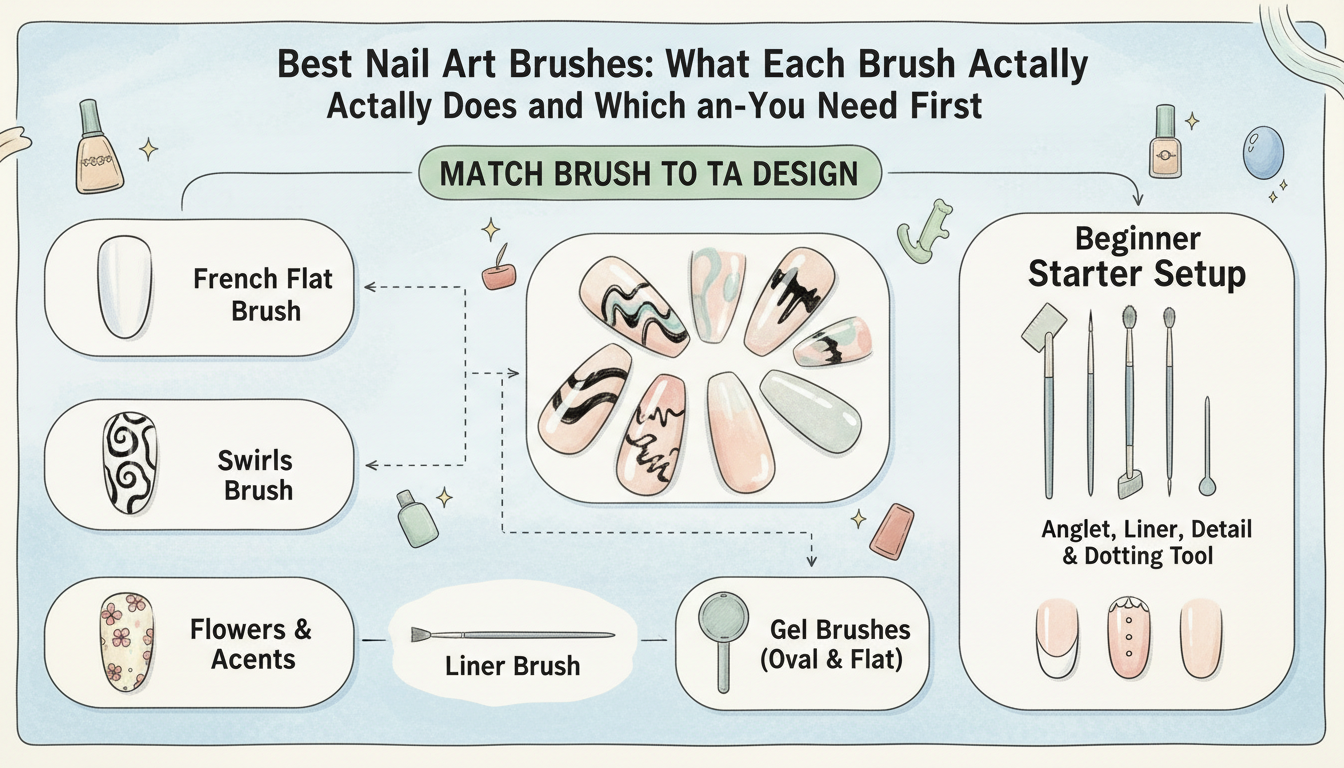
Match the Brush to the Design
This is the part most list posts miss. A brush is only “good” if it matches the design you keep trying to do.
For French Tips
Buy an angled flat brush and a cleanup brush.
For Swirls and Abstract Lines
Buy a fine liner brush.
For Flowers, Hearts, and Tiny Accents
Buy a short detail brush and a dotting tool.
For Gel Painting or Builder Gel Art
Keep a separate gel brush and do not cross-use it for cleanup or regular remover work.
For Beginners Who Want One Small Set
Buy the five-tool starter mix from the top of this guide and stop there for now.
Common Mistakes That Ruin Brush Performance
The brush is not always the issue. Sometimes the habits are.
Using Thick, Gloopy Polish
Even a good liner brush will skip and drag if the polish is too thick. For line work, the product has to move.
Letting Product Dry in the Bristles
This kills tips fast. Clean immediately after use.
Storing Brushes Tip-Down
That bends the bristles and shortens the life of the brush.
Using Acetone on Every Brush
Cleanup brushes can handle remover work. Your art brushes should be cleaned according to the product you used, not blasted with acetone by default.
Pressing Too Hard
Most detail work improves when you lighten your hand. Pressing hard turns a sharp brush into a blunt one in real time.
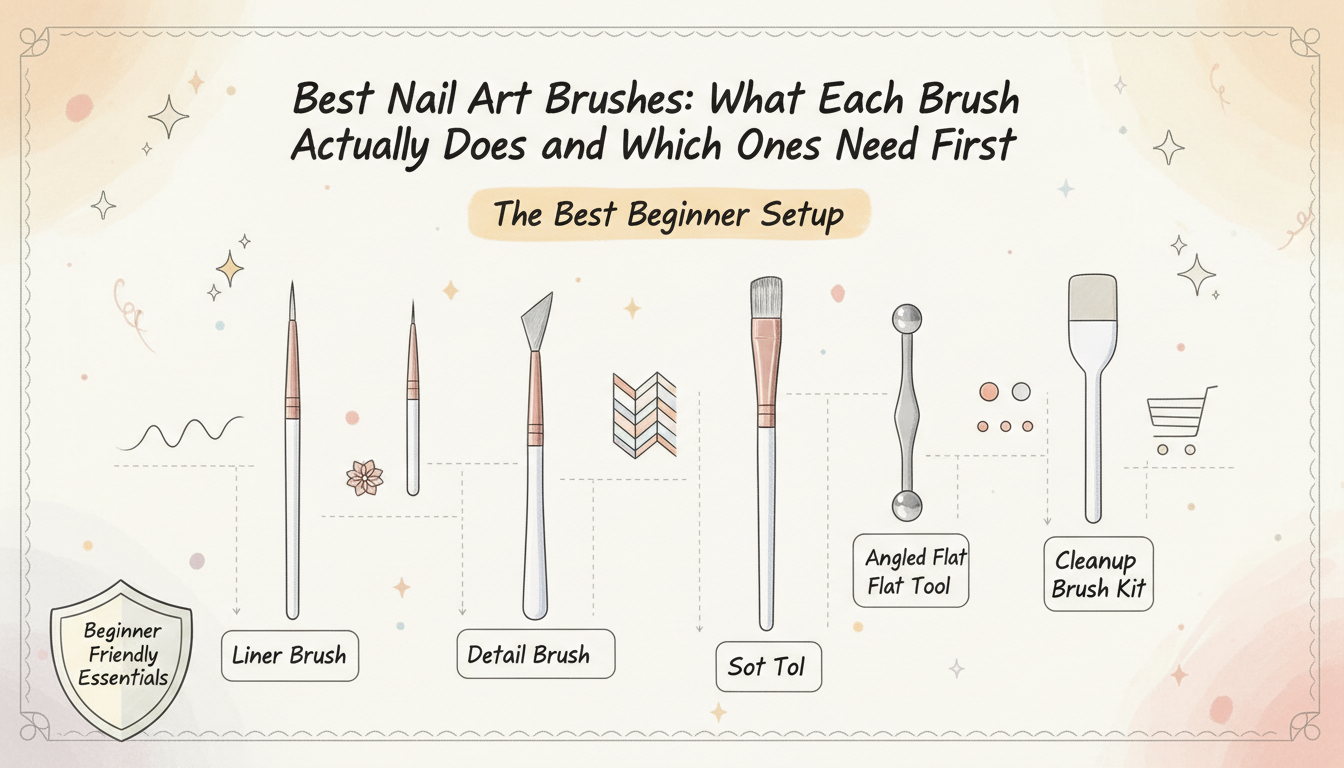
The Best Beginner Brush Setup
If you want the shortest possible shopping list, use this:
1. Fine liner brush 2. Short detail brush 3. Angled flat brush 4. Dotting tool 5. Cleanup brush
That is the real beginner kit. Not twenty brushes. Not salon fantasy. Just the tools that unlock the most designs the fastest.
Once you know your habits, then upgrade. If you keep doing French tips, buy a better angled brush. If you love intricate line work, add a second liner in a different length. If you move into gel overlays or acrylic structure, buy separate product brushes for those systems.
Start tight. Upgrade with evidence.
Final Verdict
The best nail art brushes are not the ones with the biggest set count or the prettiest handles. They are the brushes that solve the jobs you actually do on the nail.
For most people, that means one good liner, one controlled detail brush, one angled flat for French work, one dotting tool, and one cleanup brush. That setup covers far more than most beginners expect. It also keeps you from wasting money on brushes you will never reach for.
If your current nail art still looks shaky, do not assume you need better talent. Sometimes you just need the right brush in your hand.