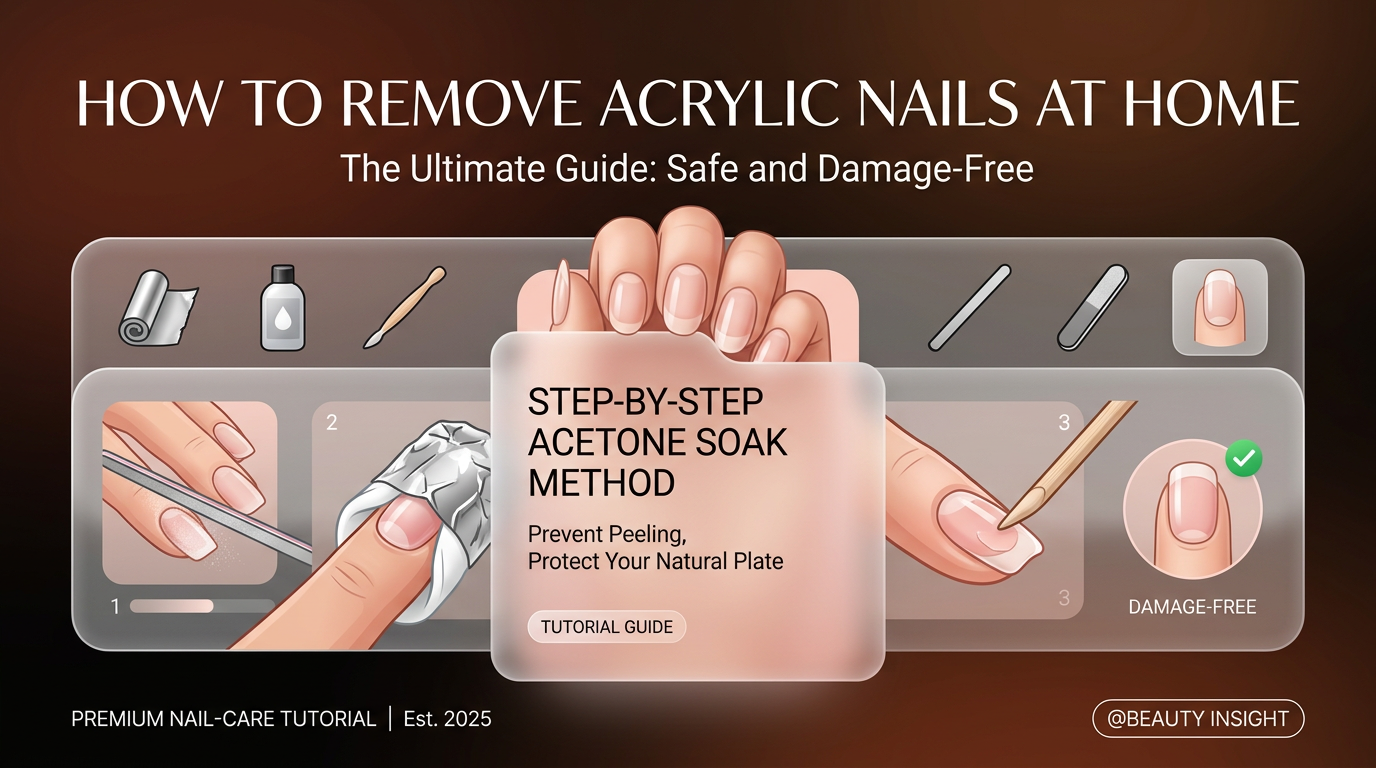
How to remove acrylic nails becomes urgent the moment the set starts lifting, catching your hair, or looking tired at the cuticle. That is usually when people make the worst move - peeling, forcing, or prying the acrylic off because it feels faster.
That shortcut costs more than time. It can take layers of your natural nail with it, leave the plate thin and sore, and make your next manicure harder to hold.
If you need acrylics off at home, the safe route is simple. Thin the acrylic first, soak with acetone, lift only what is already loose, and stop forcing the nail when it resists. This guide walks through the cleanest way to do that, plus the mistakes that usually cause damage.
The Short Answer
If you want the fastest safe method, do this:
1. Clip down length if needed.
2. File off the shiny top coat and reduce bulk.
3. Protect the skin around the nail.
4. Soak cotton in acetone and wrap each nail with foil, or use an acetone bowl method.
5. Wait 15 to 20 minutes.
6. Gently push off softened acrylic.
7. Repeat the soak if parts stay hard.
8. Buff lightly, wash hands, and use cuticle oil.
The part people rush is step six. Acrylic should slide or crumble away once it is ready. If you have to pry, it is not ready.
What You Should Never Do
Three habits cause most of the damage:
peeling lifted acrylic from the edge
ripping the set off after a quick soak
filing aggressively on the natural nail once the acrylic is mostly gone
Peeling is the biggest problem. Even when the acrylic seems half detached, it is usually still gripping parts of the nail plate. Pulling it off can leave rough white patches, thin spots, and tender nails for weeks.
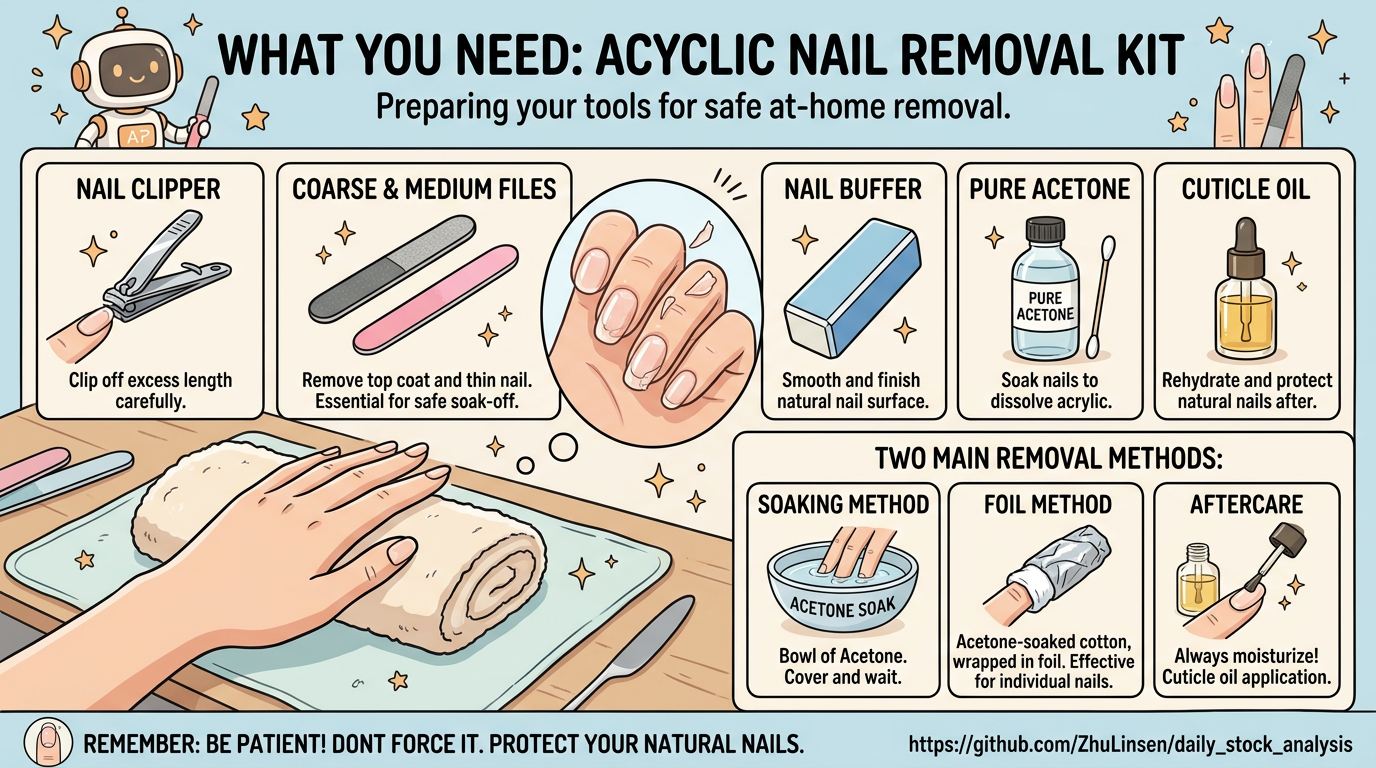
What You Need
Keep the setup simple:
nail clipper
medium or coarse nail file
buffer
pure acetone
cotton balls or cotton pads
small foil squares or soak-off clips
cuticle oil or petroleum jelly
orangewood stick or cuticle pusher
small towel
If you have a drill and know how to use it, it can speed up bulk removal. If you do not, skip it. A hand file is slower, but much harder to misuse.
Step 1: Shorten and Thin the Acrylic
If the acrylic is long, clip the free edge first. Then file off the glossy seal and reduce the thickness of the product.
This step matters because acetone struggles to break through a sealed top coat. Once you remove the shine and take down some of the bulk, the soak works faster and more evenly.
Do not file until you see your natural nail. You are only trying to thin the acrylic, not grind through the whole set.
Step 2: Protect the Skin
Acetone works, but it is drying. Put a little cuticle oil or petroleum jelly around the sidewalls and cuticle area before soaking. Keep it off the acrylic itself.
That small step makes the removal process much less harsh, especially if your skin already runs dry.
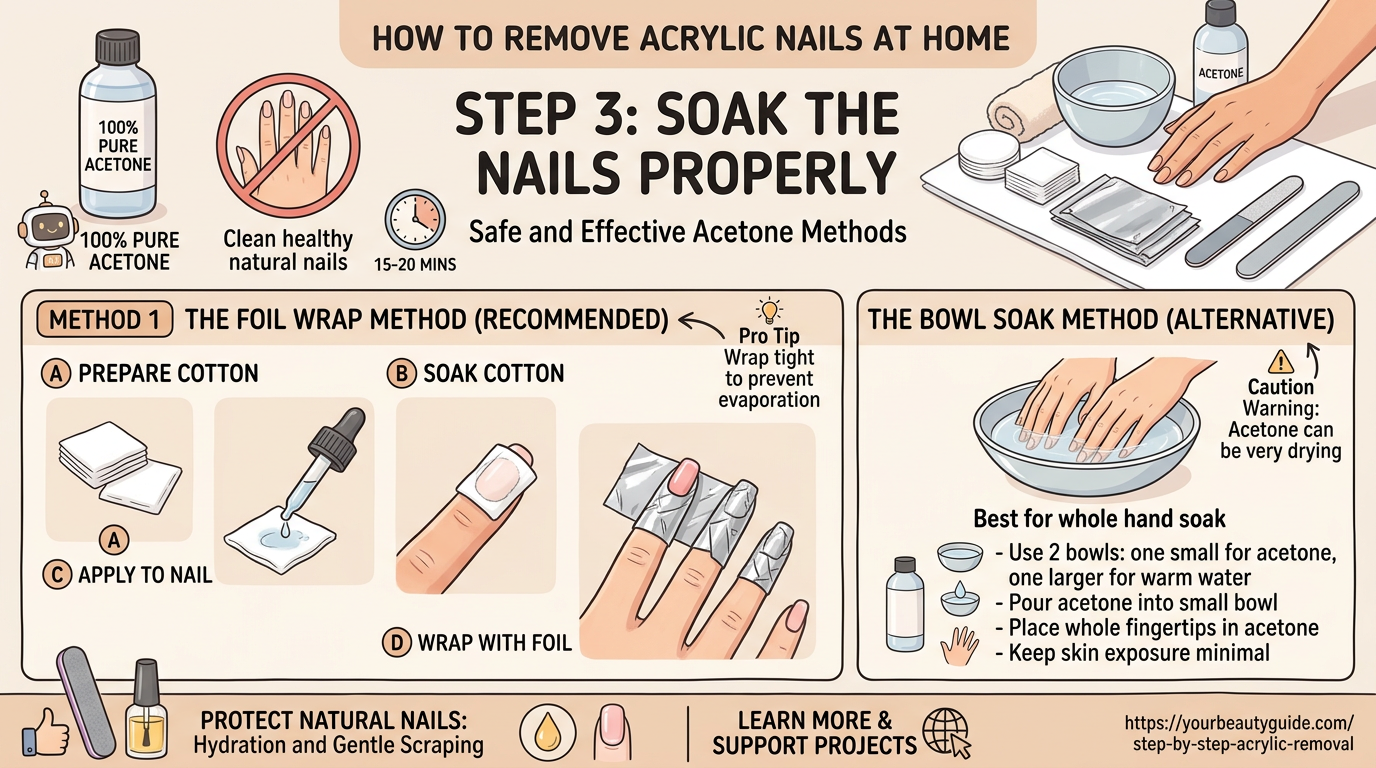
Step 3: Soak the Nails Properly
There are two good at-home methods.
Foil Wrap Method
Soak a cotton piece in acetone, place it directly on the acrylic, and wrap the fingertip with foil.
This is the cleanest method for most people because the acetone stays in contact with the nail instead of evaporating quickly.
Bowl Method
Fill a small bowl with acetone and soak the nails for 15 to 20 minutes.
This can work, but it usually dries the skin more and cools down fast. If you use this method, keep a towel under the bowl and sit still so you are not tempted to test the nails every two minutes.
Step 4: Check for Softening, Then Push Gently
After 15 to 20 minutes, unwrap one nail and test it with an orangewood stick or cuticle pusher.
What you want to see:
the acrylic looks swollen, chalky, or crumbly
the surface dents slightly
sections lift with light pressure
What you do not want:
hard glossy patches that still feel rigid
product that only moves if you dig under it
tugging at the nail plate
If the acrylic is still hard, rewrap and wait longer. That extra time is better than forcing the product off.
Step 5: Repeat Instead of Prying
Most acrylic sets do not come off in one pass. That is normal.
If some sections lift and others stay stuck, remove the softened product, file the remaining thickness a little more, and soak again. The process is boring, but it keeps the natural nail intact.
The right rhythm is:
soak
gently remove what is ready
refile thickness
soak again
Trying to skip the second round is where most home removals go bad.
How Long Does Acrylic Removal Usually Take?
For a standard set, expect 30 to 45 minutes from start to finish. Thick acrylic, heavy top coats, glitter, and multiple fill layers can push that longer.
If your acrylic was placed over another enhancement layer, such as hard gel or dip, the process can also slow down. At that point, do not guess. If the product is not soaking as expected, it may be better handled professionally.
Common Problems During Removal
The Acrylic Turns Gummy Instead of Crumbly
This usually means there is still top coat or too much bulk left. File a little more and soak again.
One Nail Will Not Budge
That nail may have a thicker apex or more fill layers. Do not attack it harder than the others. Give it another soak cycle.
The Nail Plate Looks White After Removal
Sometimes that is just dryness from acetone. Sometimes it is surface damage from over-filing or peeling. If the nail feels smooth but dry, oil and time will help. If it feels rough and thin, keep it short and skip another enhancement set for a bit.
It Burns While Soaking
Mild dryness is normal. Sharp stinging is not. Stop if the skin is cracked, cut, or reacting badly.
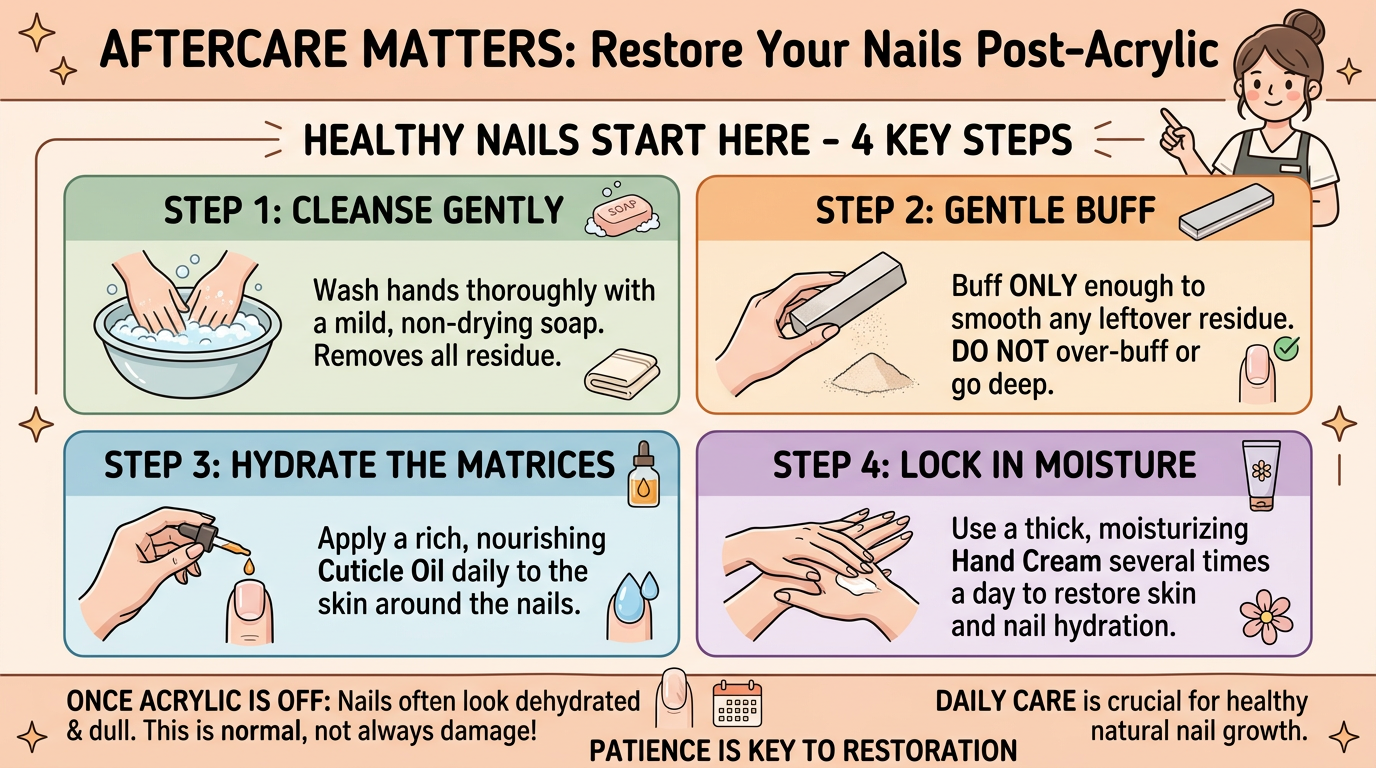
Aftercare Matters
Once the acrylic is off, the nail usually looks worse than it will look two days later. It is dry, dehydrated, and a little dull. That does not always mean it is damaged.
Do this after removal:
wash hands
buff only enough to smooth leftover residue
apply cuticle oil
use hand cream
keep nails short for a few days if they feel weak
use a strengthening or ridge-filling base coat if you want polish right away
What helps most is consistency. Oil the cuticle area morning and night for a few days and avoid using the nails as tools.
When to Stop and Go to a Salon
Home removal is fine for many standard acrylic sets. Still, there are moments where pushing through is the wrong call.
Stop and get professional help if:
the nail plate is painful
there is green, dark, or suspicious discoloration
the acrylic is lifting but the natural nail seems attached to it
you think the set includes hard gel or mixed products
you already have tears, cuts, or bleeding skin
Final Take
How to remove acrylic nails safely at home comes down to one rule - let acetone do the work, not force.
File the top coat, soak long enough, lift only what is softened, and repeat as needed. The process is slower than peeling, but it leaves you with nails you can actually work with afterward.