Most beginner nail art kits try to impress you with volume. More bottles. More tools. More glitter pots. More random extras that look exciting for about twelve minutes, then live in a drawer forever.
That approach is backward. When you are starting out, the goal is not to own a tiny salon. The goal is to build one setup that lets you do clean, simple nail art without getting overwhelmed, wasting money, or buying products you do not understand yet.
The best beginner kit is small on purpose. It covers prep, color, topcoat, a few easy art tools, and a cleanup plan. That is enough to learn dots, simple florals, swirls, French tips, gradients, stickers, and basic accent nails. Once those feel easy, then you add the harder stuff.
This guide breaks down the nail art kit a beginner actually needs, what you can skip at first, and how to build a setup that grows with you instead of confusing you on day one.
The Short Answer
If you are starting from zero, your nail art kit should include:
nail file and buffer; base coat; top coat; 3 to 5 polish colors you will really wear; dotting tool; fine liner or detail brush; cleanup brush or angled brush; remover or acetone; lint-free wipes or cotton pads; optional stickers or striping tape for easy wins
If you want to work with gel, add a lamp and gel-specific products. If you are still learning basic control, stay with regular polish first. It is cheaper, simpler, and less punishing while you practice.
Decide Your Lane Before You Buy Anything
This matters more than the kit itself.
There are really three beginner lanes:
1. Regular Polish Nail Art
Best for complete beginners. Lower cost. Easy cleanup. No lamp. Great for learning hand control, spacing, and simple design logic.
2. Gel Nail Art
Best if you already know you want longer wear and you are willing to buy a lamp and cure each layer properly. Cleaner for detail work because it does not dry until you cure it. More expensive up front.
3. Extensions and Full Nail Systems
This is where beginner kits start getting bloated. Acrylic, builder gel, full-cover tips, forms, e-files, and extensions are not the right starting point for most people who simply want to learn nail art.
If your goal is art, not extensions, stay out of this lane for now.
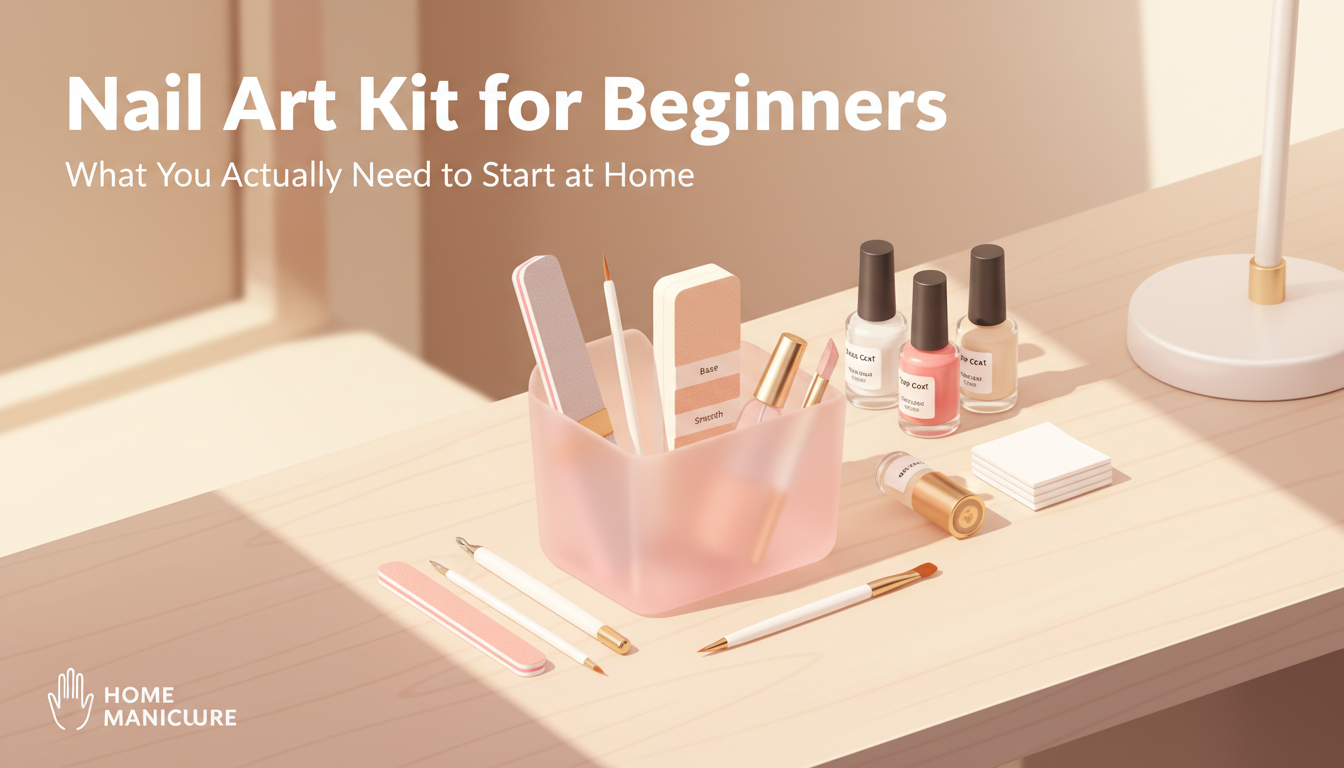
The Real Beginner Nail Art Kit
This is the minimum setup that gives you range without chaos.
1. Nail File and Buffer
You cannot get clean polish application on a rough edge and call it a design problem. Prep comes first.
A basic file shapes the edge. A buffer smooths the surface lightly if needed. That is enough for beginners.
Use it for: shaping; smoothing the free edge; light prep before polish
2. Base Coat
A base coat helps polish grip better and can reduce staining. It also gives you a smoother surface to work on.
Do not skip this because the set “looks fine” without it. Beginner art already has enough working against it. Peeling on day two should not be one of them.
3. Top Coat
Top coat is what makes a manicure look finished. It adds shine, helps protect the design, and smooths over tiny texture shifts.
If you only improve one product in your starter kit, make it the top coat. A good top coat makes average work look better.
4. A Tight Color Range
Do not buy twenty colors first.
Start with three to five shades:
one soft neutral or milky pink; one white; one black; one red, blue, or other accent color you like; one glitter or shimmer if that fits your style
That range is enough for French tips, dots, florals, cherries, contrast lines, and simple seasonal art. More colors sound fun. They also split your budget and attention.
5. Dotting Tool
This is the easiest tool in the whole kit and one of the most useful. Daisies, cherries, flower centers, polka dots, tiny fruit, and abstract bubble looks all start here.
If you are a beginner and want early wins, buy this on day one.
6. Fine Liner or Detail Brush
You need one brush for line work and small shapes. Just one to start.
A fine liner is better if you want swirls, outlines, and skinny French tips. A detail brush is better if you want flowers, bows, hearts, and tiny accents. If possible, get one of each. If not, pick based on the designs you save most often.
7. Cleanup Brush
Messy sidewalls ruin good art. A cleanup brush fixed with a little remover can sharpen the whole manicure in seconds.
This is one of those tools people skip because it is not exciting. Then they wonder why the set never looks crisp.
8. Remover or Acetone
You need a way to clean brushes, correct mistakes, and remove polish properly. This belongs in the kit, not as an afterthought.
9. Lint-Free Wipes or Cotton Pads
Not glamorous. Still necessary.
You will use them for cleanup, remover work, and wiping tools.
10. One Easy Art Shortcut
Choose one:
stickers; decals; striping tape; stamping kit
Not all four. One.
The point is to give yourself a way to create a clean design even when your brush control is still catching up.

What Most Beginner Kits Get Wrong
This is where a lot of branded kits lose me.
They often dump extensions, drills, builder products, glitter stacks, gems, and specialty items into one box, then call it beginner-friendly. It looks generous. It is not always useful.
For a real beginner, too many product types create friction:
too many steps; too many curing or removal rules; too many chances to use the wrong thing together; too much money tied up in tools you may not need
The best starter kit lowers the number of decisions. It does not multiply them.
What You Can Skip at First
You do not need all of this on day one:
e-file; acrylic system; builder gel; full extension tips; rhinestone vacuum tool; multiple stamping plates; giant polish collection; several duplicate brushes; chrome powders in six colors
Could you use some of these later? Sure. Should they be in a first kit for basic home nail art? Usually no.
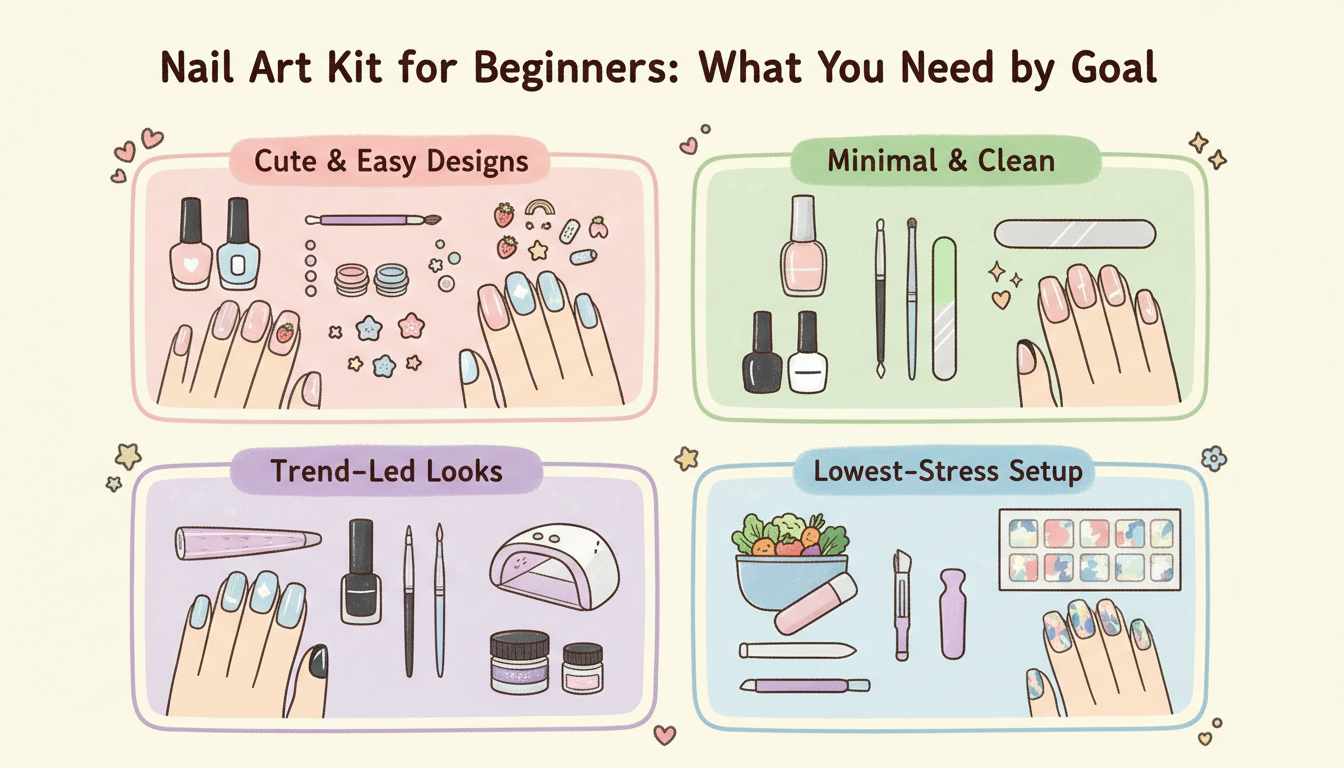
The Best Beginner Kit by Goal
If You Want Cute Easy Designs
Get:
dotting tool; pastel or milky polish shades; stickers or decals; top coat
That covers daisies, hearts, fruit accents, stars, and simple spring designs fast.
If You Want Minimal Clean Designs
Get:
fine liner brush; neutral base color; white or black accent color; cleanup brush
This setup is enough for micro French, abstract lines, side tips, and simple graphic details.
If You Want Trend-Led Looks
Get:
liner brush; sponge; one shimmer or chrome-adjacent polish; top coat
That gives you gradients, aura-inspired looks, and simple glaze effects without overbuilding the kit.
If You Want the Lowest-Stress Starter Setup
Stay with regular polish, one brush, one dotting tool, and one sheet of decals. Learn placement and balance first. The fancy products can wait.
Gel Kit or Regular Polish Kit?
This is the question people should ask before they spend.
Choose Regular Polish First If: you are brand new; you want lower upfront cost; you are practicing basic art; you do not want lamp or curing steps yet
Choose Gel First If: you already do your own gel manicures; you want longer wear; you understand curing and removal; you want more time to place details before the product sets
Gel gives you more working time, which is great for detail art. It also adds cost and more room for process mistakes. For many beginners, regular polish is still the cleaner first move.
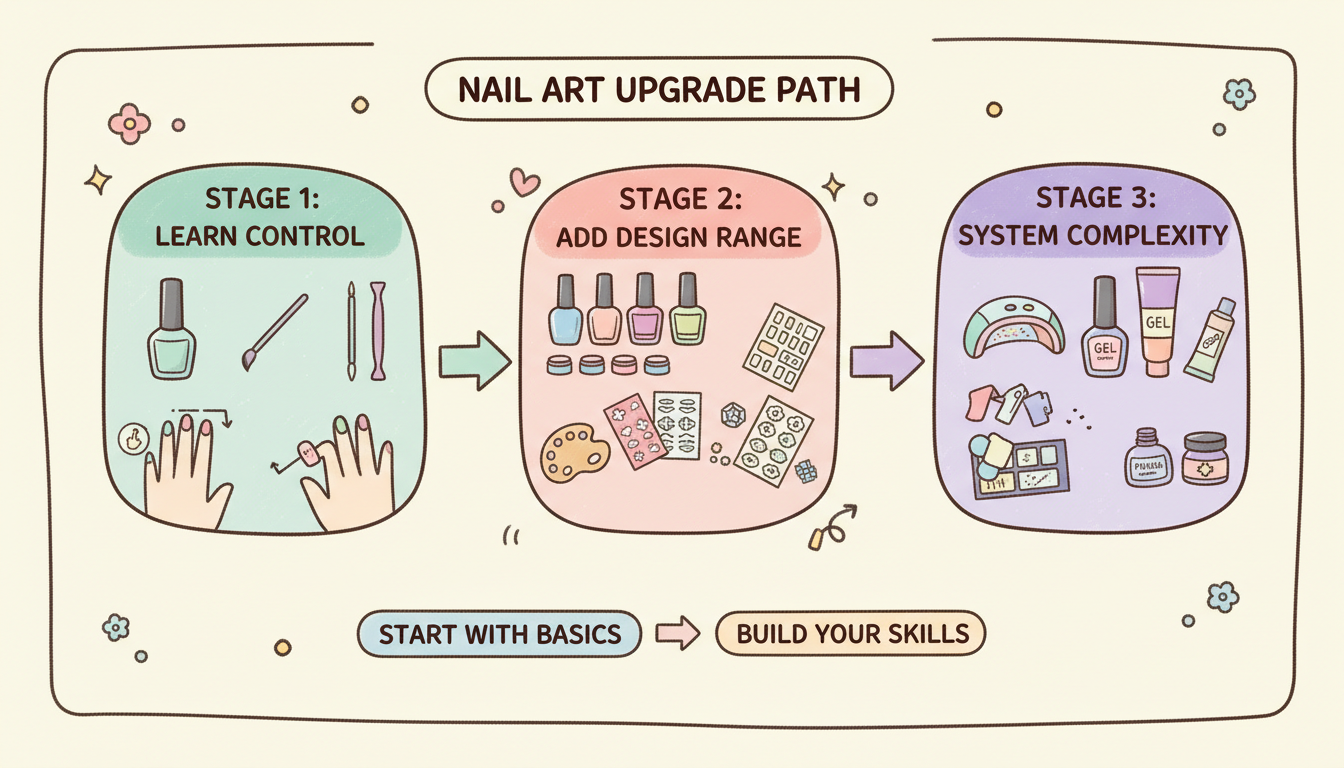
A Smart Upgrade Path
Do not “complete” your kit in one haul. Build it in layers.
Stage 1: Learn Control
Start with prep, base, top coat, three to five colors, one brush, one dotting tool, and cleanup supplies.
Stage 2: Add Design Range
Add striping tape, stickers, a second brush shape, or a sponge for gradients.
Stage 3: Add System Complexity
Only after you are comfortable with basic art should you move into gel painting, stamping, chrome, builder gel, or extensions.
That sequence saves money and frustration. It also gives you a better sense of what you actually enjoy doing.
Common Beginner Mistakes
Buying for Fantasy Instead of Frequency
If you mostly want simple florals and French tips, do not buy a giant extension kit first.
Choosing Too Many Colors
More polish does not equal better art. It usually means slower decisions.
Skipping Cleanup Tools
This is one of the fastest ways to make a set look unfinished.
Mixing Too Many Systems
Regular polish, gel, acrylic, dip, and extension products all at once is a mess for a beginner.
Spending the Budget on Gadgets
Put the money into base coat, top coat, one good brush, and colors you will use. That changes results more than novelty tools do.
The Best Beginner Nail Art Kit, Plainly
If I had to build one from scratch today for simple at-home nail art, I would buy:
1. Nail file 2. Buffer 3. Base coat 4. Top coat 5. White polish 6. Black polish 7. Soft pink or nude polish 8. One accent color 9. Dotting tool 10. Fine liner or detail brush 11. Cleanup brush 12. Remover and wipes 13. Optional sticker sheet or striping tape
That is the kit. Small. Useful. Enough to learn on.
Final Verdict
The best nail art kit for beginners is not the fullest kit. It is the one that makes starting easy.
Focus on prep, a small color palette, one or two art tools, and cleanup. Skip the heavy systems until you have a reason to need them. You will learn faster, spend less, and end up with a kit you actually use.
Start with the minimum that works. That is how you build a setup that lasts.