Most beginner nail art goes wrong before the design even starts.
Not because the idea was too ambitious. Because the setup was sloppy, the hand position was unstable, the brush held too much polish, or the person tried to fix every mistake with the same overloaded tool.
That is why a lot of "easy nail art techniques" guides feel incomplete. They show examples. They do not teach control.
If you want nail art that actually gets cleaner over time, you need a few basic techniques that carry into almost everything else. Dots. Lines. Gradients. French curves. Cleanup and sealing. Once those are solid, most simple designs stop feeling random.
The Short Answer
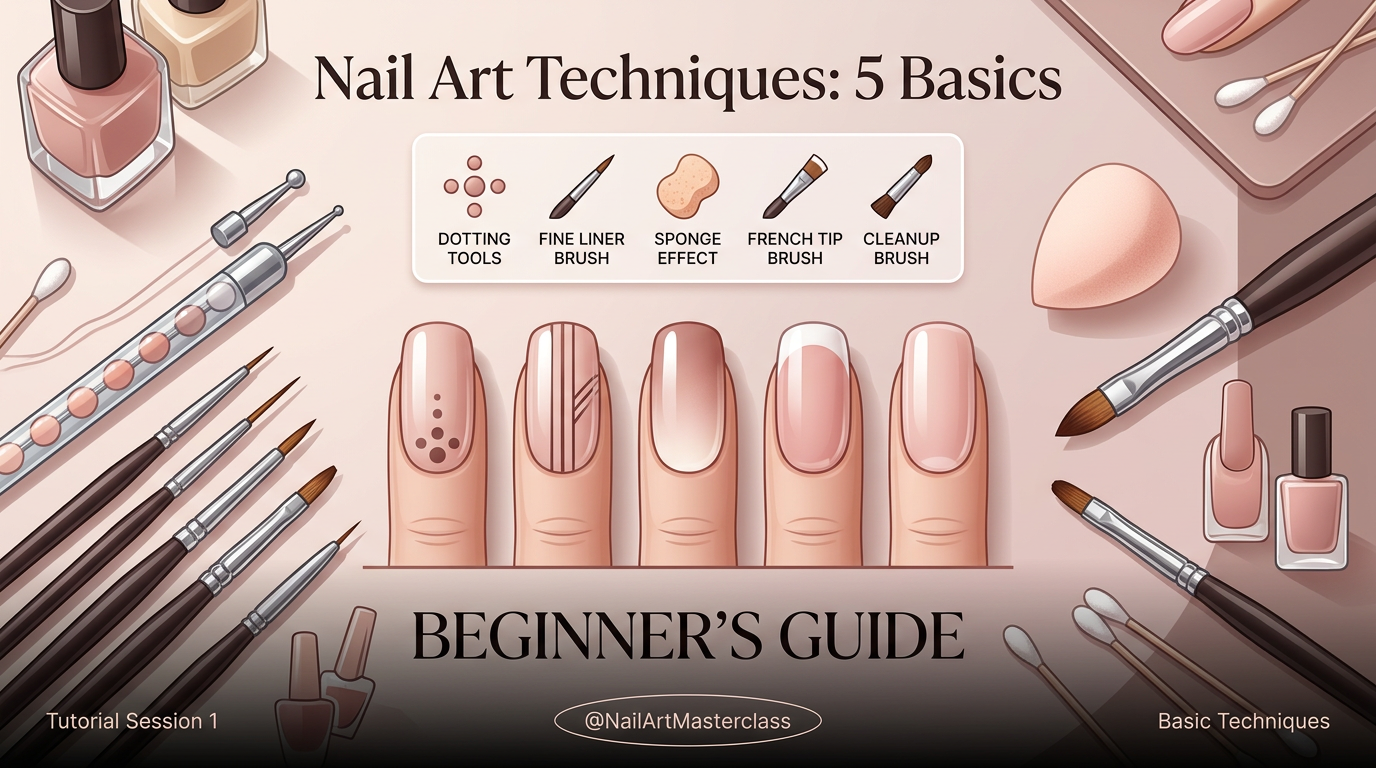
If you want the five nail art techniques that matter most for beginners, start with:
dot placement; line control; sponge gradients; French curve placement; cleanup and edge sealing
Those five cover a surprising amount:
flowers; hearts; swirls; side French; ombre; abstract art; chrome accents; cleaner long wear
You do not need to draw well. You do need repeatable control.
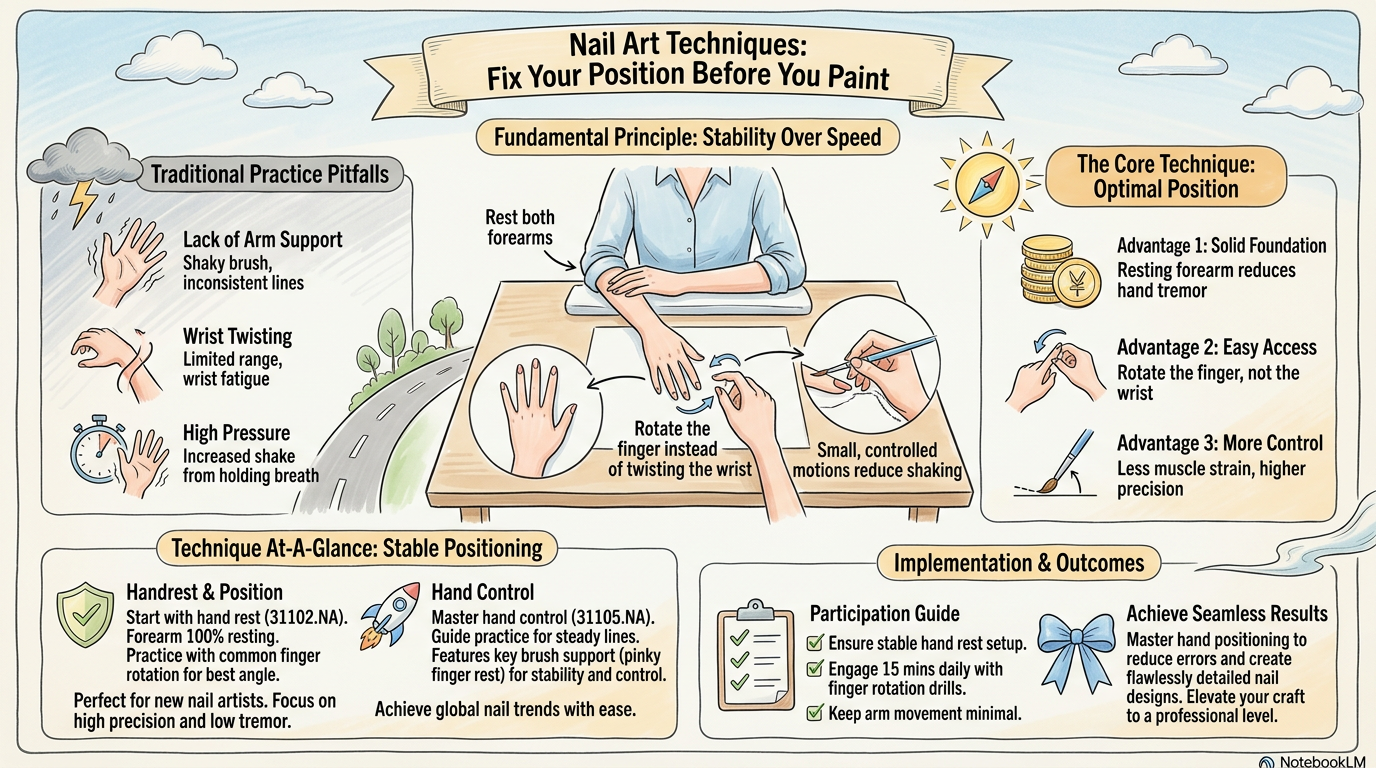
Before the Techniques, Fix Your Position
This part gets skipped too often.
If your elbow is floating, your wrist is tense, and the nail is facing away from your line of sight, the brush will feel worse than it actually is.
Set yourself up like this:
rest both forearms on a table; support the painting hand with the other hand if needed; rotate the finger instead of twisting your own wrist into awkward angles; keep the brush handle low and stable
You want the motion to be small. Short. Controlled.
A shaky line is not always a skill problem. Sometimes it is just body position.
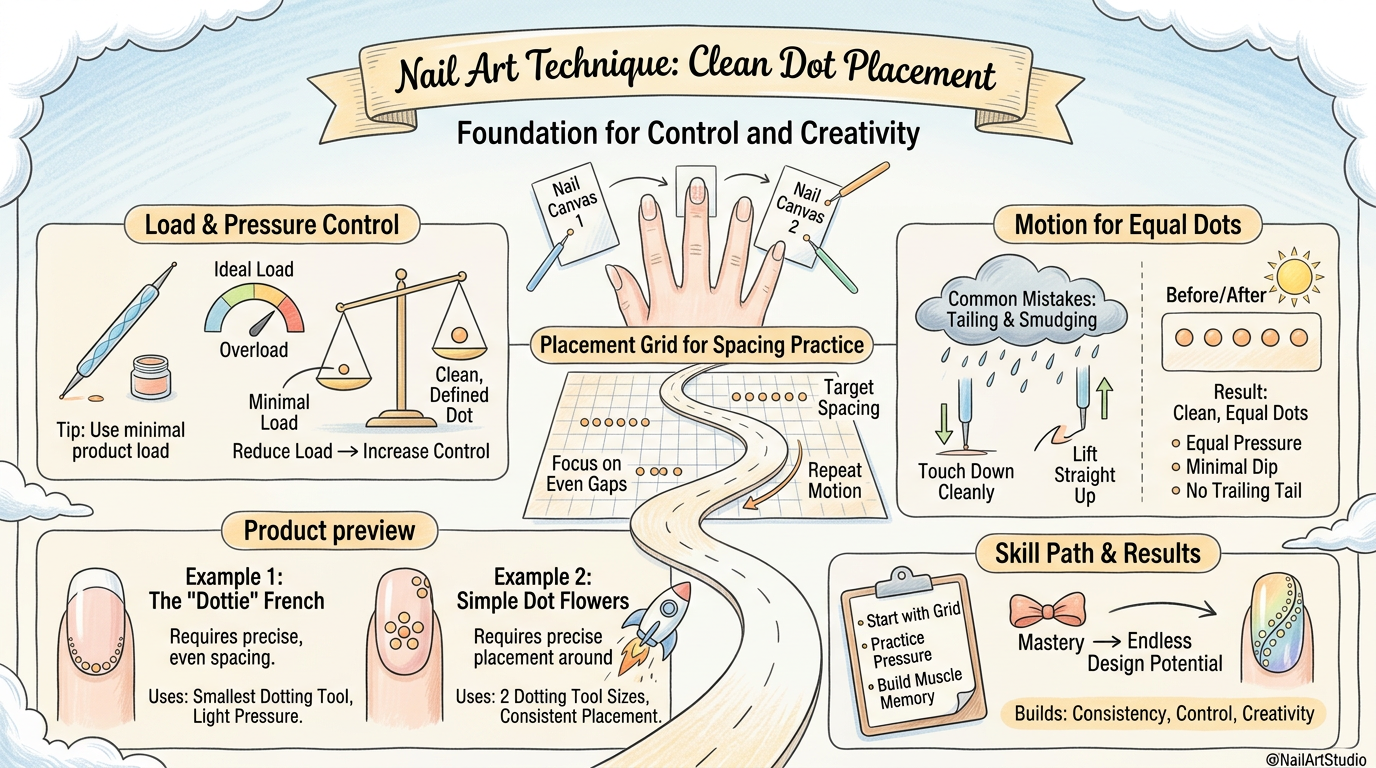
Technique 1: Clean Dot Placement
This is still the best starting point in nail art.
Dots teach pressure, spacing, and how much product the tool should carry. They also open the door to a lot of designs fast.
With good dot placement, you can do:
daisies; cherries; heart clusters; abstract spots; bubble looks; simple borders
How to Do It
Use a dotting tool, toothpick, or the rounded end of a bobby pin. Load a small amount of polish on the tip. Touch down with one calm motion. Lift cleanly.
That is enough.
The main mistake is pressing too hard and dragging the dot by accident.
What to Practice
Practice three rows:
equal-size dots; dots that get smaller on purpose; evenly spaced dots along the side of the nail
If you can control that, flowers and simple accent art get much easier.
Technique 2: Line Control
Lines are where many beginners lose confidence.
Because a line exposes hesitation. If you stop halfway, reload badly, or push too much polish at once, the wobble shows.
What Makes Lines Cleaner
less polish on the brush; longer pull, fewer stops; turning the finger instead of bending the wrist; using the side of your hand for support
The goal is not one magical brush. It is one smooth pull.
Start With These Line Types
Practice:
short vertical lines; thin French edges; simple curves; one diagonal accent line
Do not start with intricate checkers or tiny lettering. That is the wrong fight.
If Your Hands Shake
Shorten the distance.
Use a shorter detail brush instead of a long liner if the longer bristles feel loose. Some people get better results with a shorter tool because it feels anchored.
Technique 3: Sponge Gradients
Gradients look harder than they are. The main skill is patience.
This technique gives you:
ombre nails; sunset fades; aura-style backgrounds; soft glitter fades
How to Do It
Paint the polish colors onto a small sponge in narrow stripes. Dab onto the nail lightly. Repeat in thin layers instead of trying to get full payoff in one go.
That last part matters.
Trying to finish the gradient in one heavy pass usually gives you bulk, bubbling, and messy edges.
What Beginners Get Wrong
sponge too wet with polish; too much pressure; skipping cleanup between layers; no top coat to smooth the texture
A sponge gradient often looks rough before top coat and much better after. Do not judge it too early.
Technique 4: French Curve Placement
French tips deserve their own category because the motion is different from regular line work.
You are not decorating a flat space. You are placing a curve that has to suit the nail shape and look balanced on both sides.
The Tools That Help Most
angled flat brush; fine liner brush; cleanup brush; silicone stamper if freehand keeps failing
How to Make It Easier
Keep the tip narrower than you think. Match the smile line to the nail edge. Work from one side toward the middle, then the other, or use one guided motion with an angled brush if that feels more natural.
For beginners, thinner French tips are usually easier to rescue than thick ones.
What to Practice
Practice the same tip width on all five nails of one hand. That teaches proportion faster than doing one perfect accent nail.
Technique 5: Cleanup and Edge Sealing
This is the least glamorous technique and one of the most useful.
Cleanup is what turns a decent design into a clean one. Sealing is what keeps it around long enough to matter.
Cleanup
Use a small cleanup brush dipped lightly in remover to sharpen the cuticle line, fix flooded edges, or refine a French tip.
The brush should be damp, not dripping.
If you flood remover into the design, you create a bigger mess than the one you were fixing.
Edge Sealing
When the design is done, top coat the nail and lightly cap the free edge.
This matters for:
gradients; French tips; chrome accents; glitter; any manicure that tends to chip at the tip first
The science is not mysterious. The edge is where friction hits first. Seal it and you buy time.
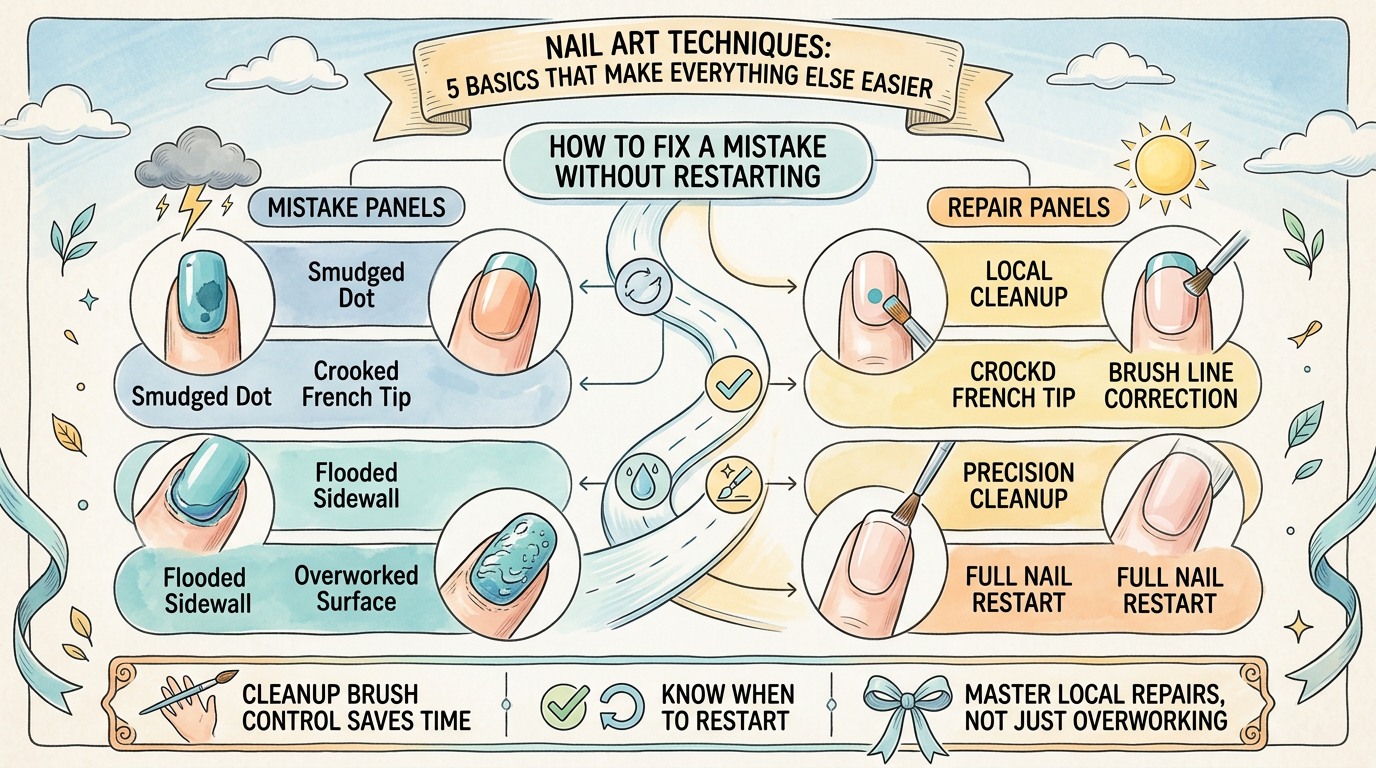
How to Fix a Mistake Without Restarting the Whole Nail
This is a skill too.
Good nail art does not come from never slipping. It comes from knowing what can be rescued.
Usually fixable:
one crooked French tip; one smudged dot; one sidewall flood; one patchy gradient edge
Less fixable:
a full muddy color mix; thick bubbled polish across the whole nail; a design you have overworked three times already
The rule is simple. If the mistake is local, clean it locally. If the whole surface is turning gummy, wipe it and restart before it gets worse.
That decision saves a lot of time.
Regular Polish or Gel for These Techniques?
Both work. They just fail differently.
Regular polish is good for learning motion because it is simple and cheaper to practice with. The downside is speed. You have less time before a line drags or a layer starts setting.
Gel gives you more working time and makes French curves, chrome accents, and cleanup easier to control before curing. The downside is that it adds more steps, more tools, and a little more cleanup discipline.
If you are brand new, regular polish is enough to learn dots, lines, gradients, and basic French work. If you already do gel at home, the same five techniques transfer over well.
A Better Practice Order for Beginners
Do not practice random designs. Practice motions.
Use this order:
dots; straight lines; curved lines; sponge fades; French curves; cleanup
That sequence builds control without making you learn ten things at once.
Take photos while you practice. You will spot spacing and symmetry issues much faster that way.
The Small Tool Kit That Covers These Techniques
You do not need a huge drawer.
Start with:
one dotting tool; one liner or detail brush; one angled brush; one cleanup brush; small cosmetic sponge; top coat; remover; lint-free wipes or pads
That is enough to practice the five basics properly.
The Mistakes That Slow Beginners Down
Loading Too Much Product
More polish rarely helps. It usually floods the brush and softens the shape.
Practicing Designs Instead of Motions
A sunflower looks like one design. Underneath, it is just dots and control.
Fixing Every Error Too Late
Some mistakes should be cleaned right away. Others need a second to settle. Learning that timing matters.
Ignoring Brush Care
A cheap brush can still work if you clean it properly. A nice brush can become useless fast if it dries out with product in the tip.
Treating Top Coat Like an Afterthought
Top coat changes how gradients smooth out, how glitter sits, and how long the design survives.
How to Know You Are Getting Better
Look for these signs:
your dots match more closely; your lines need fewer corrections; your French tips look balanced from hand to hand; your cleanup gets faster; your manicures chip later, not sooner
That is real progress.
Not how complicated the design looks on day one.
The Best Nail Art Technique Strategy for Most People
If you want a cleaner path into nail art, spend less time chasing trendy designs and more time building these five basics: dots, lines, gradients, French curves, and cleanup with proper sealing.
That is the foundation under a lot of "advanced" nail art anyway.
Once those motions feel steady, the pretty part gets easier.