Most nail art tool lists have one bad habit. They treat every tool like a must-have.
That sounds helpful until you are staring at a cart full of dotting tools, liner brushes, stamping kits, chrome powders, sponge packs, forms, drill bits, picker pencils, gel palettes, and random accessories you do not even know how to use yet. At that point, the list stopped helping.
Most people do not need a full nail station. They need a small tool kit that makes simple designs easier, cleaner, and more repeatable. That is the real job of beginner-friendly nail art tools. Not volume. Not “professional” vibes. Just better results with less friction.
This guide cuts the tool list down to the pieces that actually matter, the ones that can wait, and the order that makes sense if you do not want to waste money.
The Short Answer
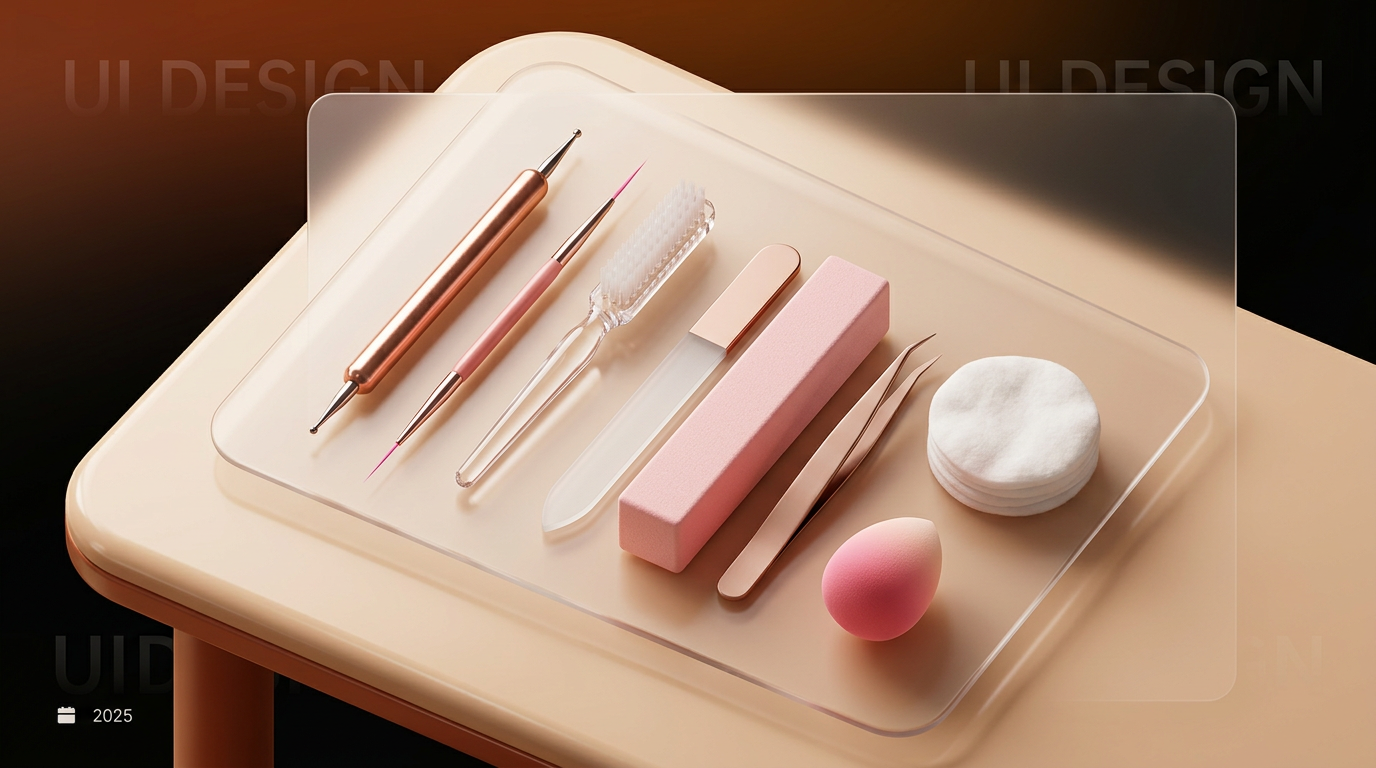
If you want the smallest useful nail art tool kit, buy these first:
dotting tool; fine liner brush; cleanup brush; nail file; buffer; lint-free wipes or cotton pads; remover or acetone; tweezers; small sponge for gradients
That setup covers the designs most people actually do at home: dots, flowers, swirls, French tips, simple lines, gradients, sticker placement, and edge cleanup.
Everything else depends on what kind of nail art you end up doing often.
The Real Test for Any Nail Art Tool
Before you buy any tool, ask one question:
What job does this solve that my current setup cannot solve cleanly?
If the answer is vague, skip it.
A dotting tool solves circles better than a brush. A cleanup brush sharpens edges fast. Tweezers place stickers and charms without fingerprints. Those are clear jobs. But a random 12-piece “nail art pen and silicone dual-ended super set” usually solves nothing specific. It just looks busy.
Good tools earn their space. They save time, improve control, or clean up a mistake you make often.
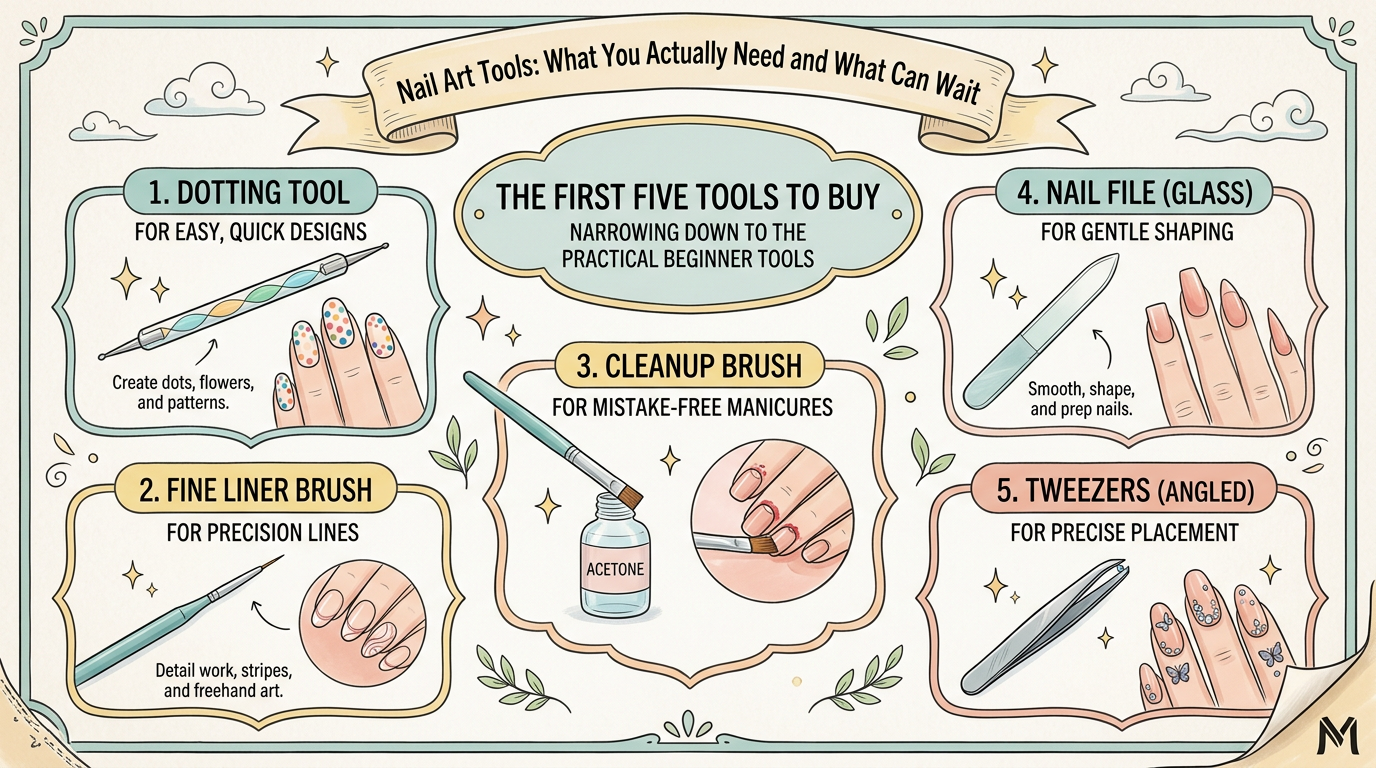
The First Five Tools to Buy
If you are starting from scratch, this is the smartest order.
1. Dotting Tool
This is still the easiest win in nail art.
If you can place a dot, you can do daisies, cherries, flower centers, tiny hearts, polka dots, bubbles, and simple accent patterns. A dotting tool removes a lot of the brush-control problem that makes beginners feel clumsy.
Buy one double-ended tool and stop there. You do not need six sizes on day one.
2. Fine Liner Brush
If the dotting tool is for easy shapes, the liner brush is for movement.
Use it for:
skinny French tips; abstract swirls; side tips; line details; outline work
Look for a tip that stays pointed and does not fan out dry. That matters more than the brand name.
3. Cleanup Brush
This tool does not get much love because it is not “fun.” It is still one of the reasons some DIY manicures look polished and others look messy.
A cleanup brush dipped lightly in remover lets you sharpen the cuticle line, clean flooded sidewalls, and fix a crooked French tip before it sets. If your designs look fine in the middle but messy around the edges, this is probably the tool you are missing.
4. Nail File and Buffer
Prep tools are still nail art tools.
If the shape is uneven or the edge is rough, no swirl or chrome powder is going to save the manicure. A basic file and a light buffer make the surface easier to work on and keep the final set looking intentional.
5. Tweezers
People forget this one. Then they try to place striping tape or stickers with their fingers and ruin the whole thing.
Tweezers are useful for:
sticker placement; decals; striping tape; small charms; lifting lint from wet polish
Cheap, boring, worth it.
The Next Tier - Buy These After the Basics
Once you know you enjoy doing nail art regularly, these tools start making sense.
Small Sponge
For gradients, aura-style backgrounds, and soft color transitions, a small cosmetic sponge works better than trying to blend with a brush.
Angled Flat Brush
This is especially useful if you do French tips often. It helps guide the curve and works well for one-stroke petals or crisp color blocking.
Silicone Tool
Useful for chrome application, moving small embellishments, and pressing decals flat. Not urgent on day one, but nice if you move beyond basic polish art.
Stamping Kit
This belongs in the “buy later” group because it is its own mini system. It can be great if you love crisp patterns and do not want to hand-paint everything, but it adds its own learning curve.
Tools Most Beginners Can Skip at First
This is where the budget usually leaks.
You do not need all of this to start:
electric file; acrylic brushes; builder gel brushes; full extension forms; several duplicate liner lengths; multiple dotting tool packs; rhinestone picker pencils; nail drills; six chrome powders; large stamping plate collections
Could some of these become useful later? Sure.
But they are not “starter” tools just because they showed up in a kit photo.
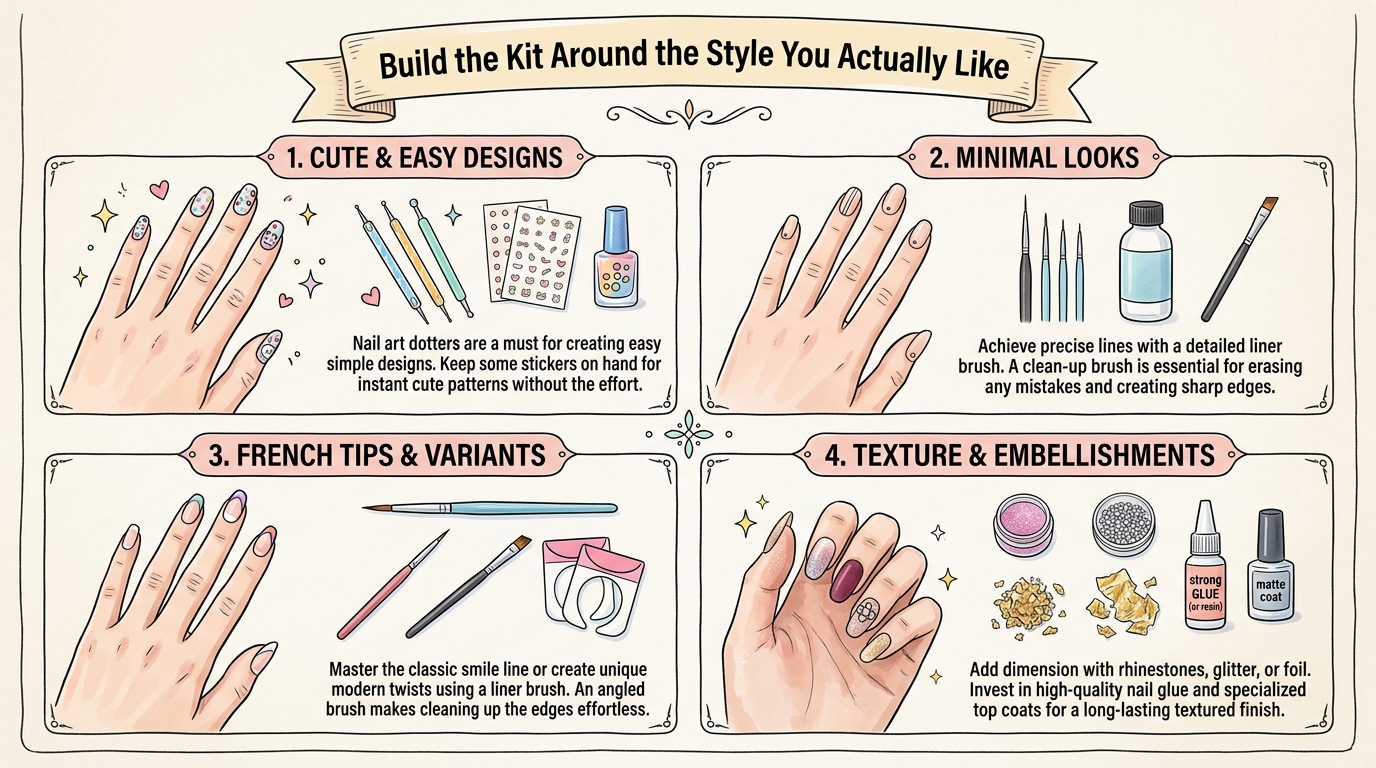
Build the Kit Around the Style You Actually Like
A smart nail art setup depends on what you save to your camera roll.
If You Love Cute, Easy Designs
Prioritize:
dotting tool; tweezers; stickers or decals; top coat
That gives you flowers, fruit accents, stars, little hearts, and simple seasonal nails without much brush work.
If You Love Minimal Looks
Prioritize:
fine liner brush; cleanup brush; tweezers
That covers micro French tips, side details, abstract curves, and negative-space accents.
If You Love French Tips
Prioritize:
liner brush; angled flat brush; cleanup brush
That trio gives you more control over the smile line and makes correction easier.
If You Love Texture and Embellishment
Prioritize:
tweezers; silicone tool; wax pencil or pickup tool later
Still, start small. A few charms do not require a full gem setup.
Regular Polish Tools vs Gel Tools
This matters because people mix systems and end up confused.
For regular polish nail art, the basic list is enough:
dotting tool; liner brush; cleanup brush; sponge
For gel nail art, you may also need:
curing lamp; gel palette or mixing surface; dedicated gel brushes; lint-free wipes
If you already do gel manicures, adding gel art tools makes sense. If you are still learning simple control, regular polish tools are the cheaper and less stressful place to start.
The Biggest Tool Mistakes
Most bad nail art is not a creativity problem. It is usually one of these.
Buying a Huge Kit Too Early
Large sets feel efficient. They usually create clutter, duplicate functions, and lower quality at the same time.
Using One Brush for Everything
A liner brush is not a cleanup brush. A cleanup brush is not a gel brush. Cross-using tools shortens their life and makes every job harder than it needs to be.
Ignoring Cleanup Tools
People will spend money on glitter and skip the brush that fixes the cuticle line. That is backward.
Buying for Fantasy Instead of Frequency
If you have never done 3D flowers, do not let that be your first tool purchase. Buy for the designs you do every week, not the one you might attempt next month.
Forgetting Storage
Brush caps matter. So does not crushing your tools into one crowded cup. A good brush tip can be ruined in a drawer long before it wears out from use.
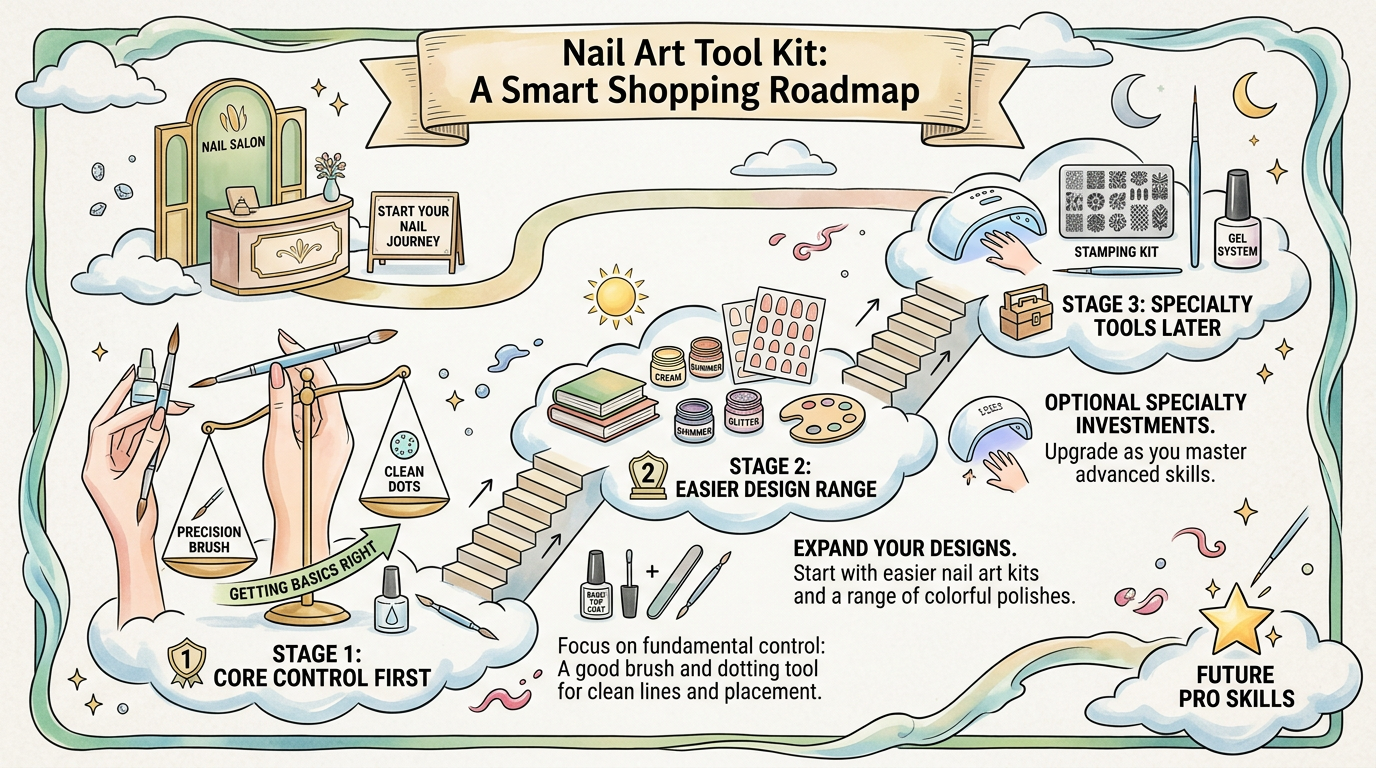
A Smart Shopping Order
If you want the leanest upgrade path, use this order:
Stage 1: Core Control
Buy:
dotting tool; liner brush; cleanup brush; file; buffer
Stage 2: Easier Design Range
Add:
tweezers; sponge; angled brush
Stage 3: Specialty Tools
Only after you know your style, add:
stamping tools; chrome applicators; gem tools; gel-specific brushes
That order keeps the learning curve manageable and makes every purchase easier to justify.
If You Only Want One Beginner Kit
Use this list and stop shopping for now:
1. Dotting tool; 2. Fine liner brush; 3. Cleanup brush; 4. Nail file; 5. Buffer; 6. Tweezers; 7. Sponge; 8. Remover; 9. Cotton pads or lint-free wipes
That is enough to make nail art feel possible instead of chaotic.
Final Verdict
The best nail art tools are the ones that solve real problems on the nail. They help you place product better, clean up faster, or open up one new design style without making the setup harder to use.
For most people, that means starting with one dotting tool, one liner brush, one cleanup brush, and a few prep basics. Add more only when your habits give you a reason.
Small kit. Clear jobs. Better results.